Your First Material
This tutorial builds a minimal but complete material: one noise generator, shaped with a Levels filter, converted to a normal map, and wired into a PBR Output. By the end you will have previewed it in 3D and exported its maps.
1. Create a project
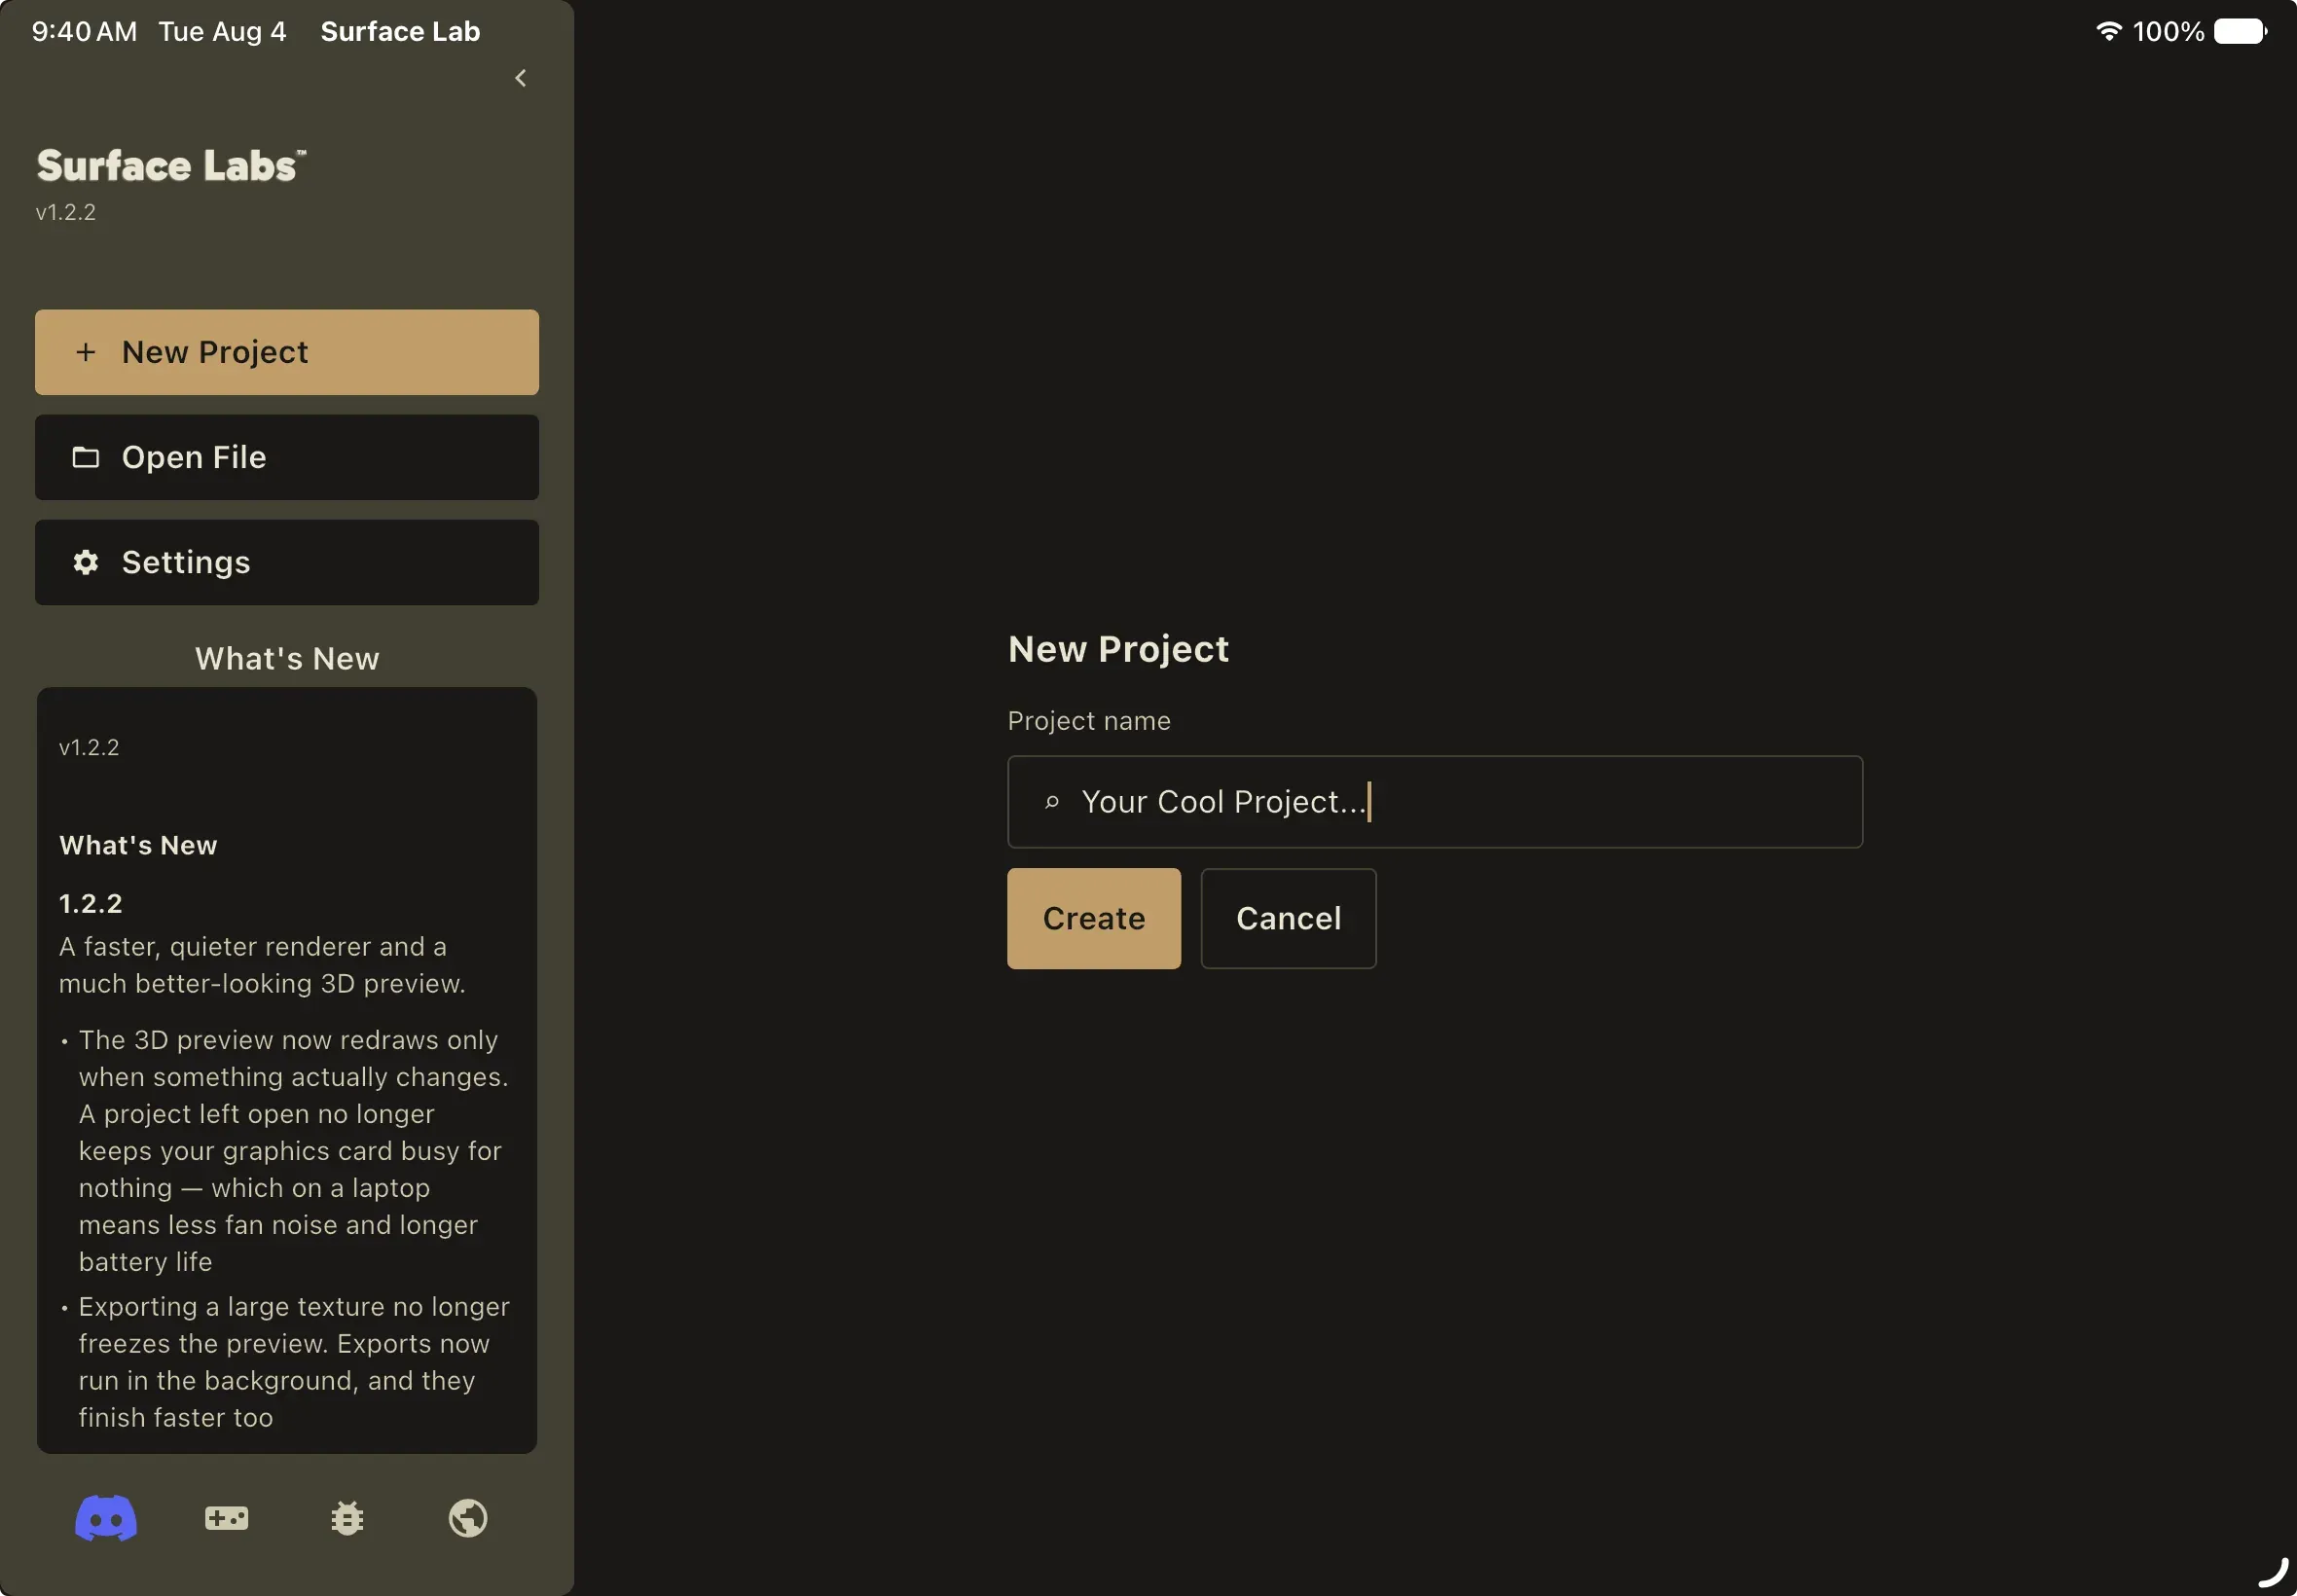
Section titled “1. Create a project”In the Project Hub, press New Project. An
inline form replaces the shelves. Type a project name and press Create.
The project file is written under Documents/Surface Labs/ and the editor
opens.
2. Place a Noise generator
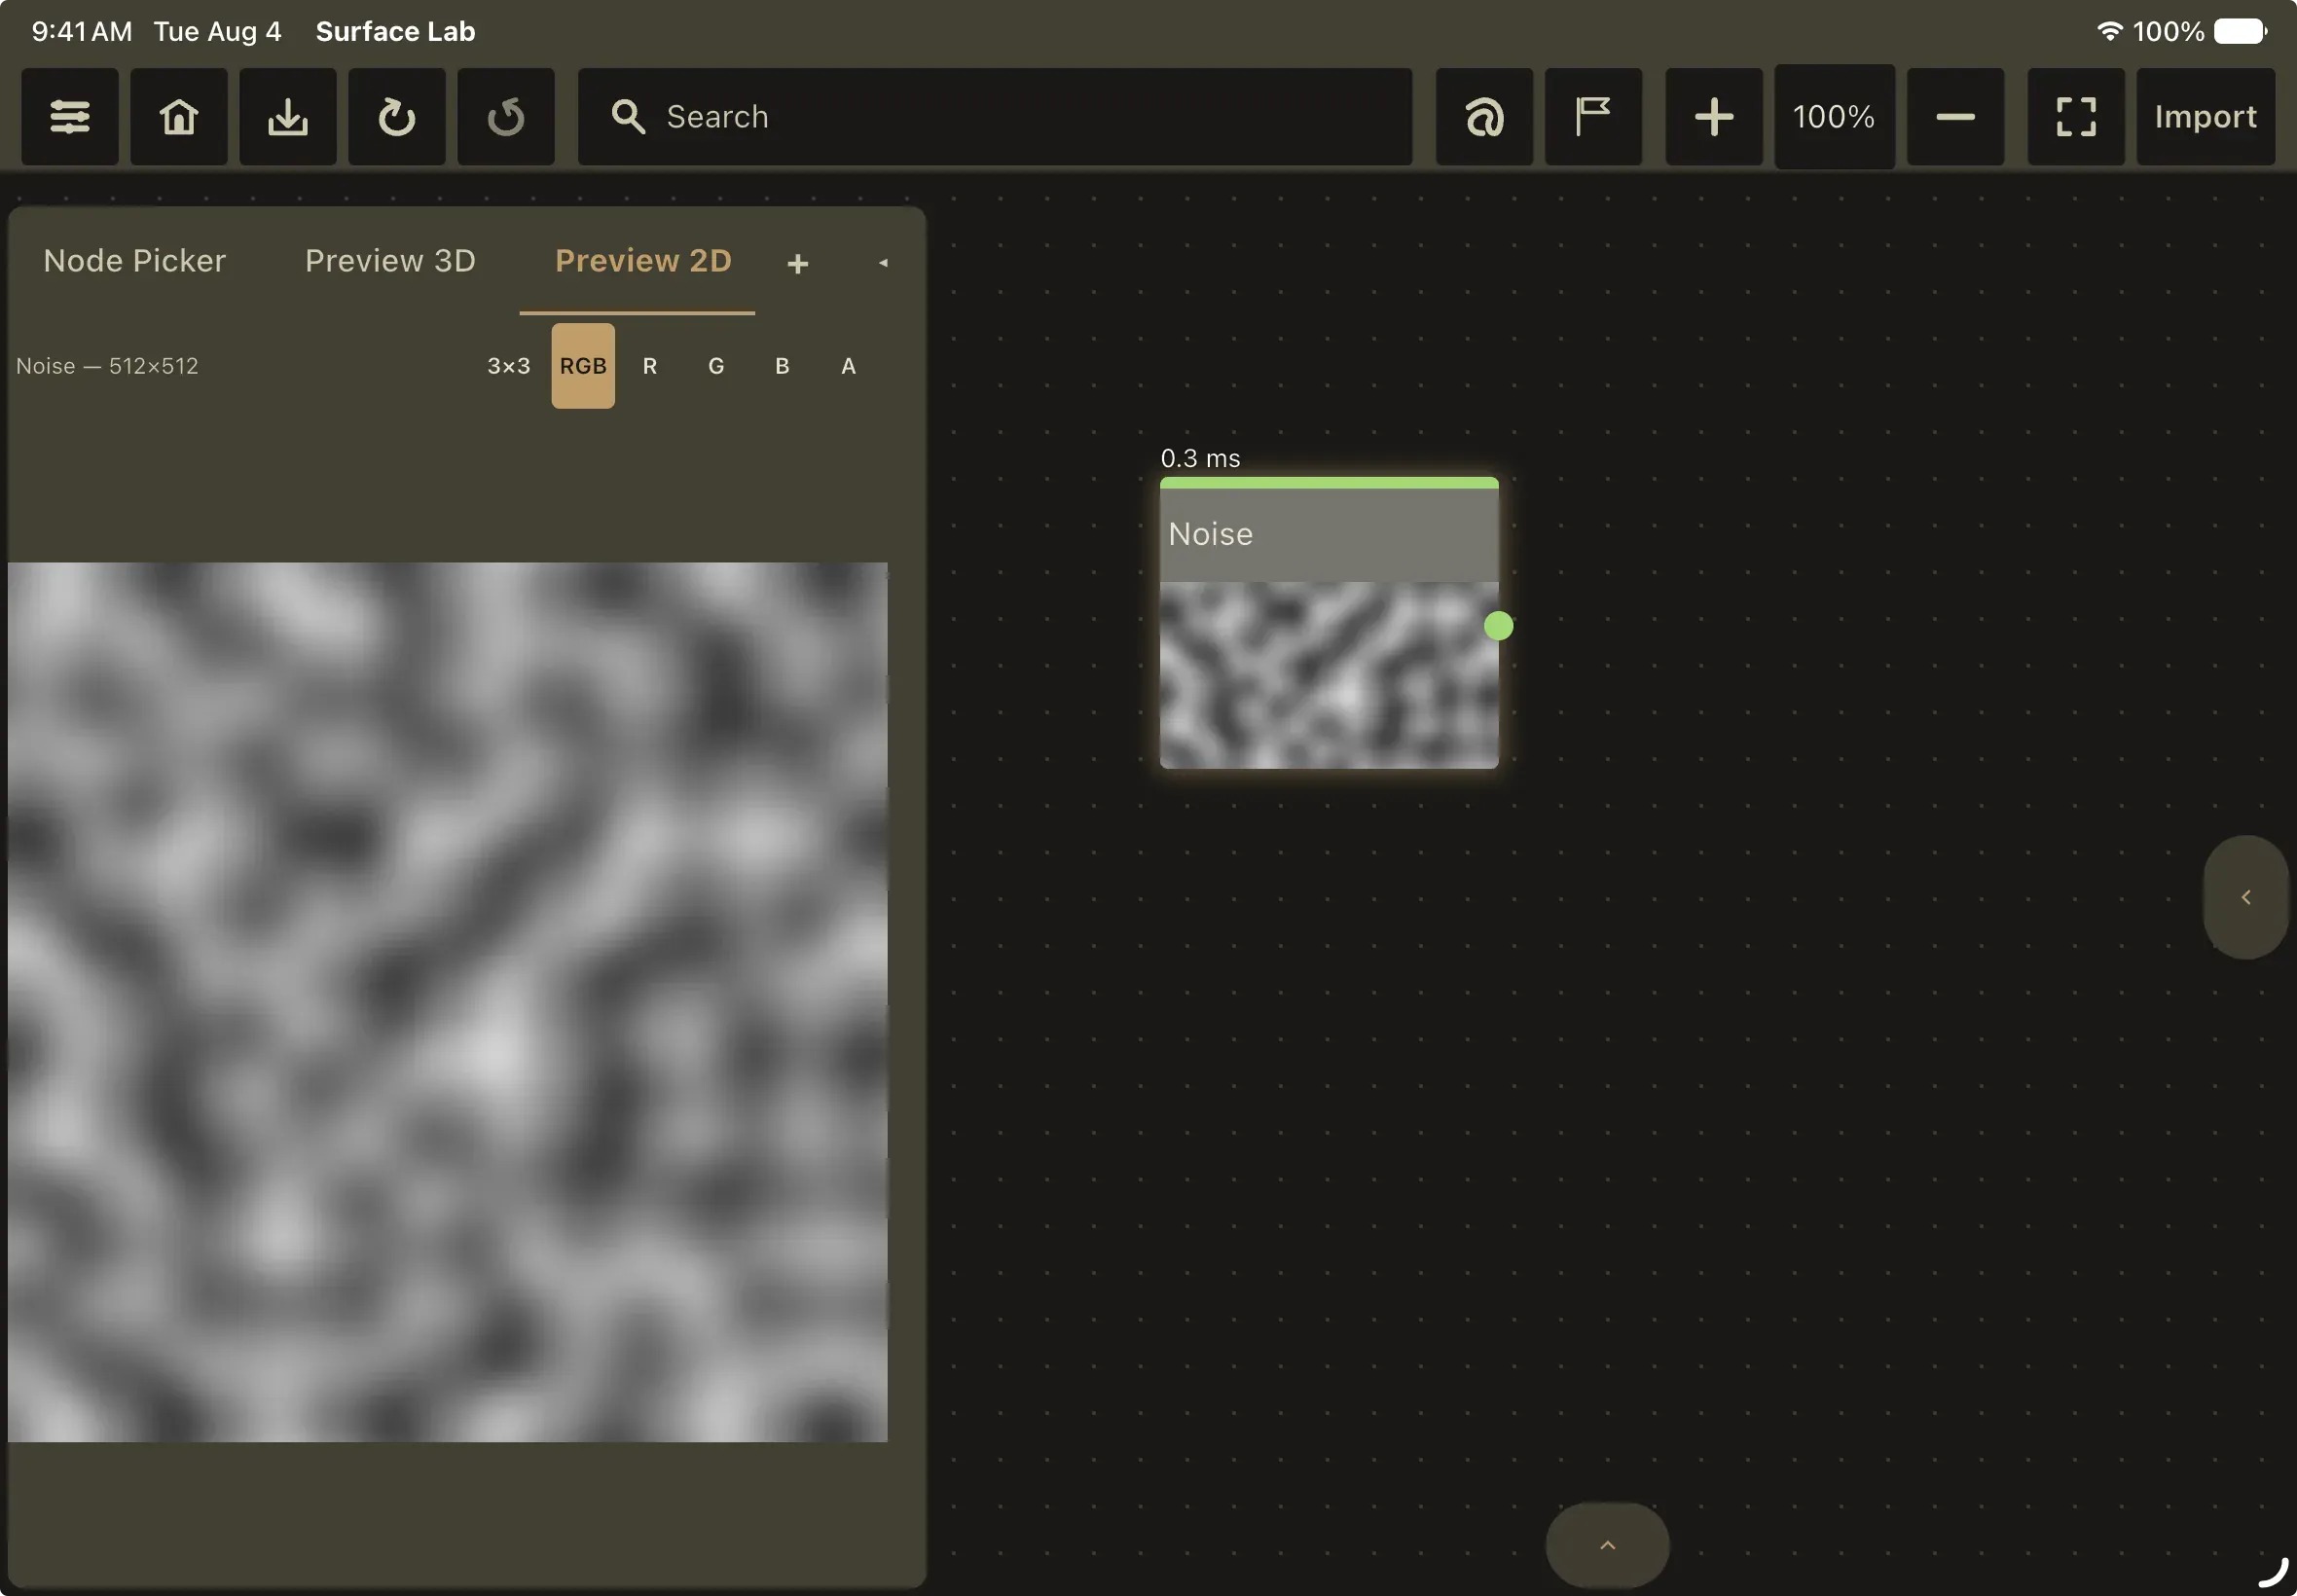
Section titled “2. Place a Noise generator”Type noise into the toolbar’s search field and drag the Noise result onto
the canvas, or tap it to drop it at the center of the viewport. The Node Picker
panel and a double-click on empty canvas offer the same catalog if you would
rather browse; Noise is in the Generators category. It has no inputs and one
output, Output, a grayscale field in the 0 to 1 range.
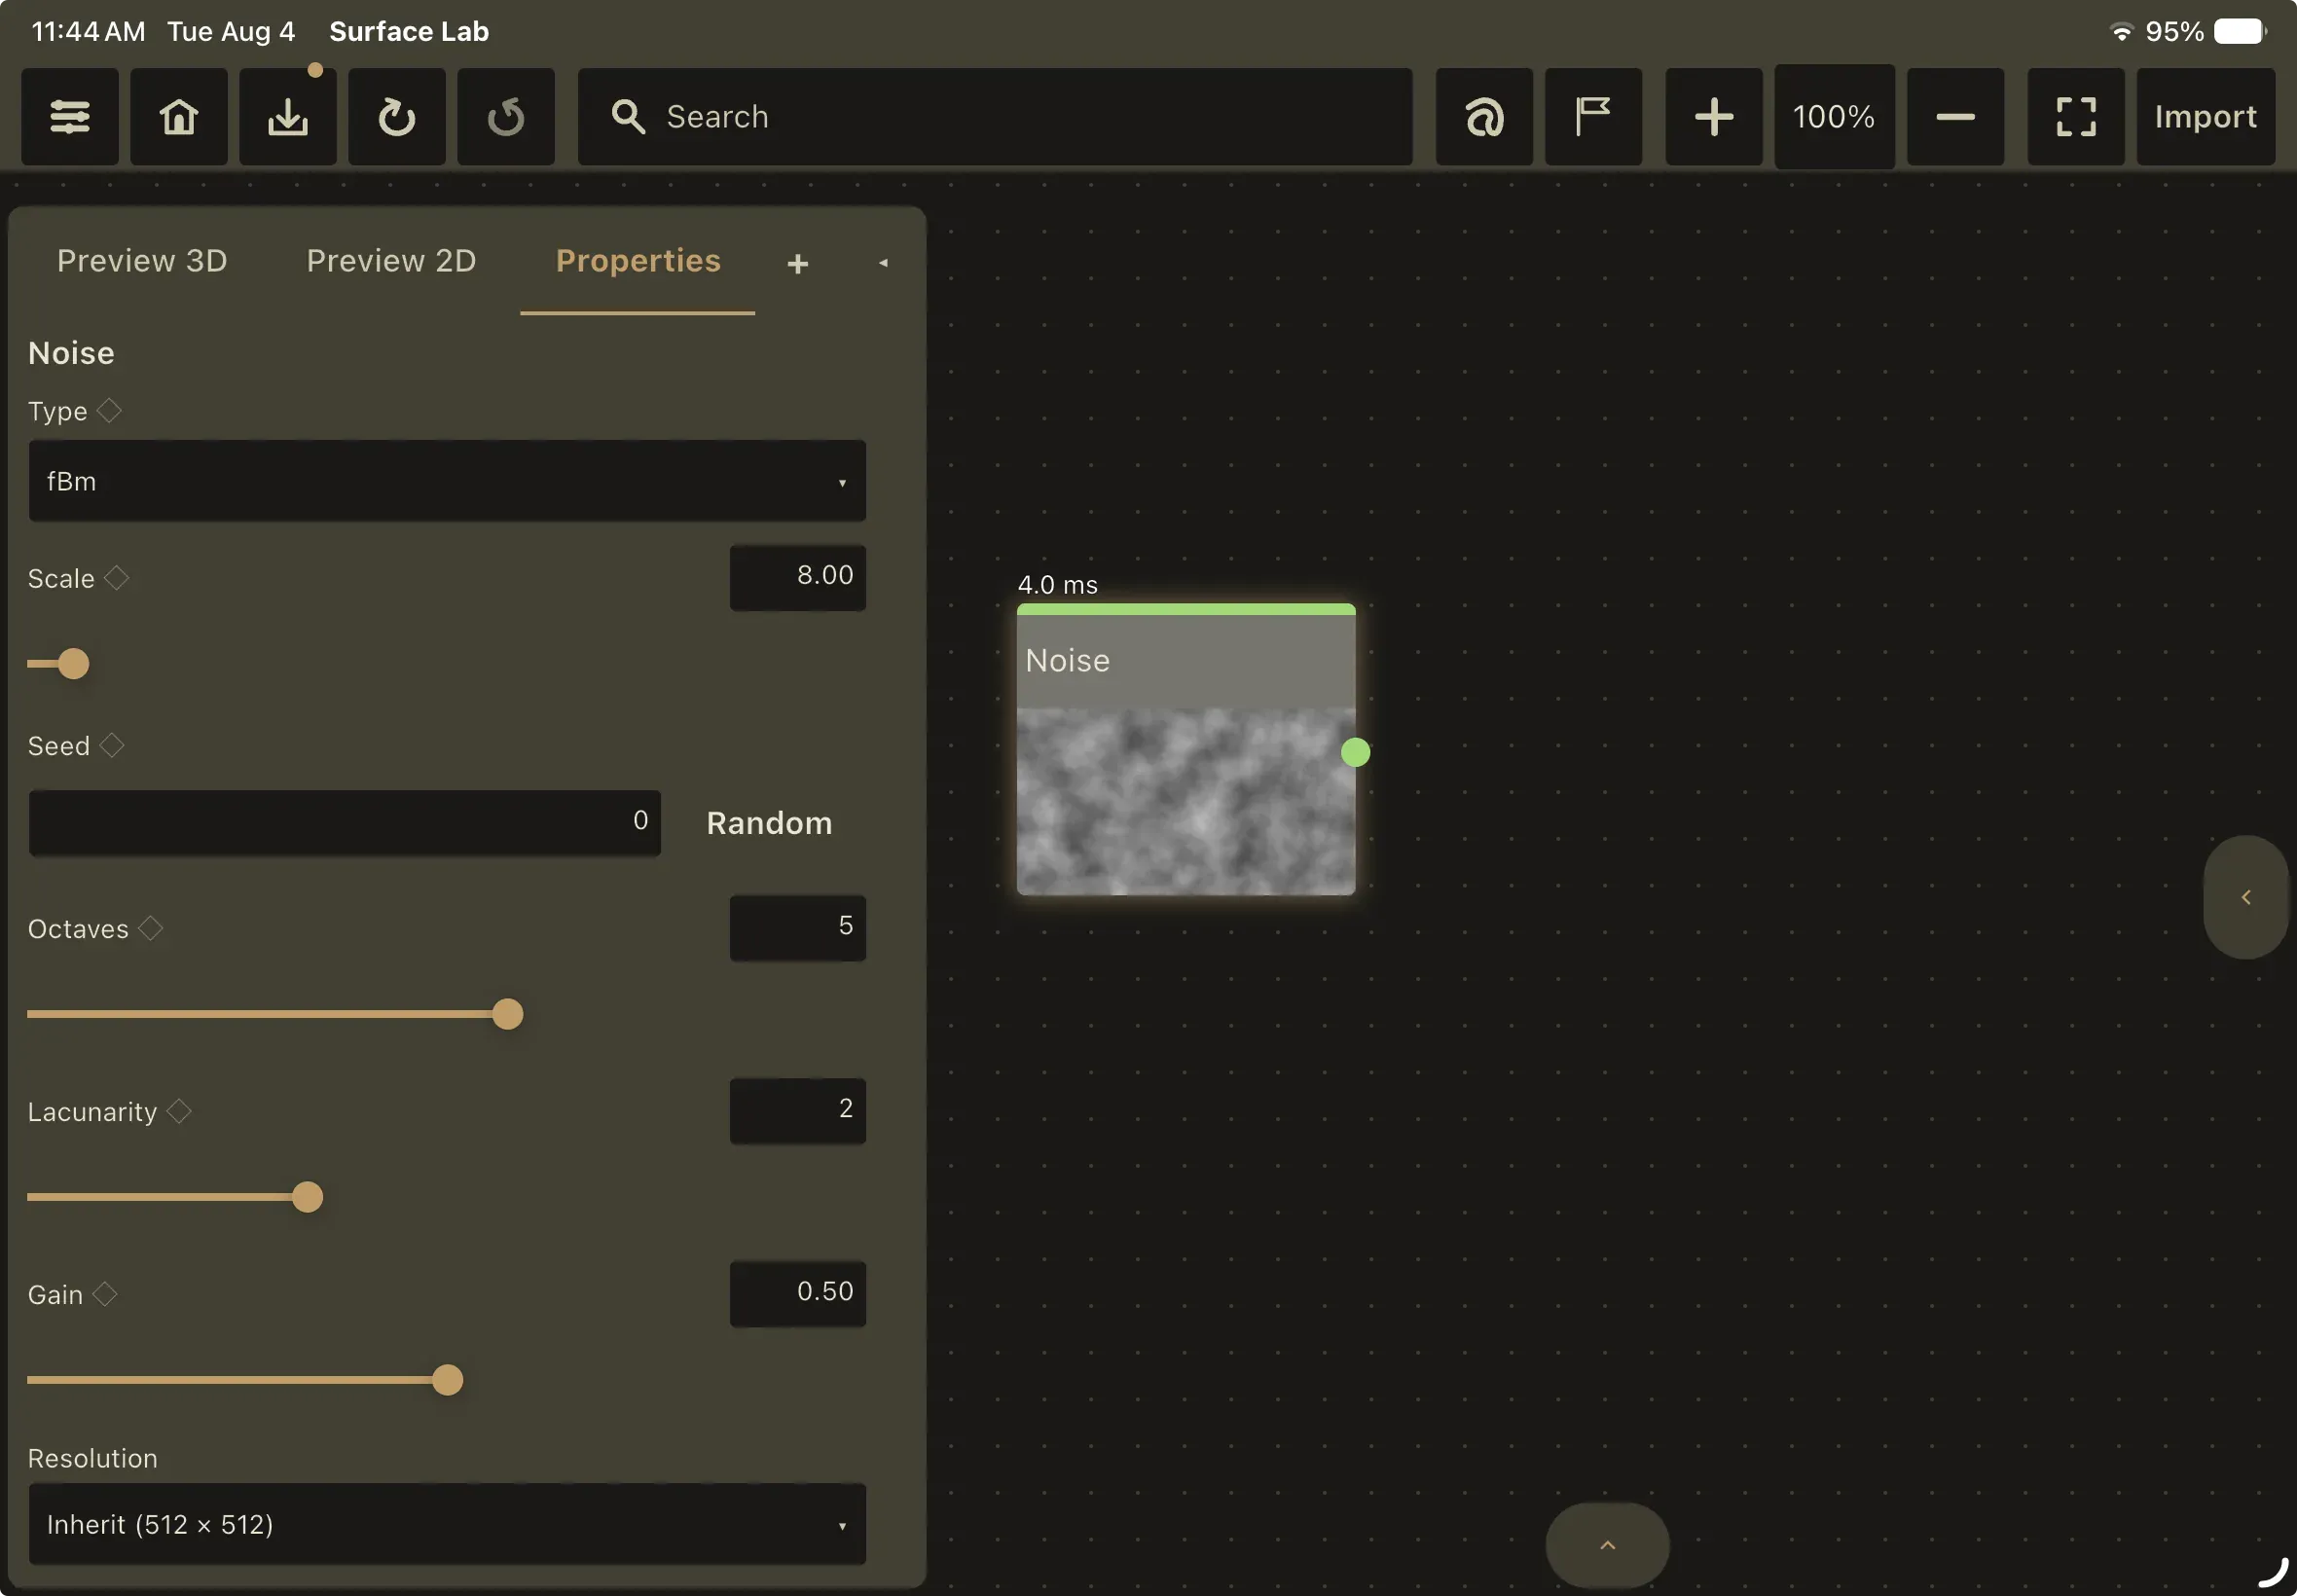
In the Properties panel, pick a family from Type (Perlin is the default; fBm is a good start for natural surfaces). Scale sets the cells per axis, and pressing the randomize button next to Seed reshuffles the pattern without changing anything else. Only the controls the chosen family uses stay visible.
3. Shape it with Levels
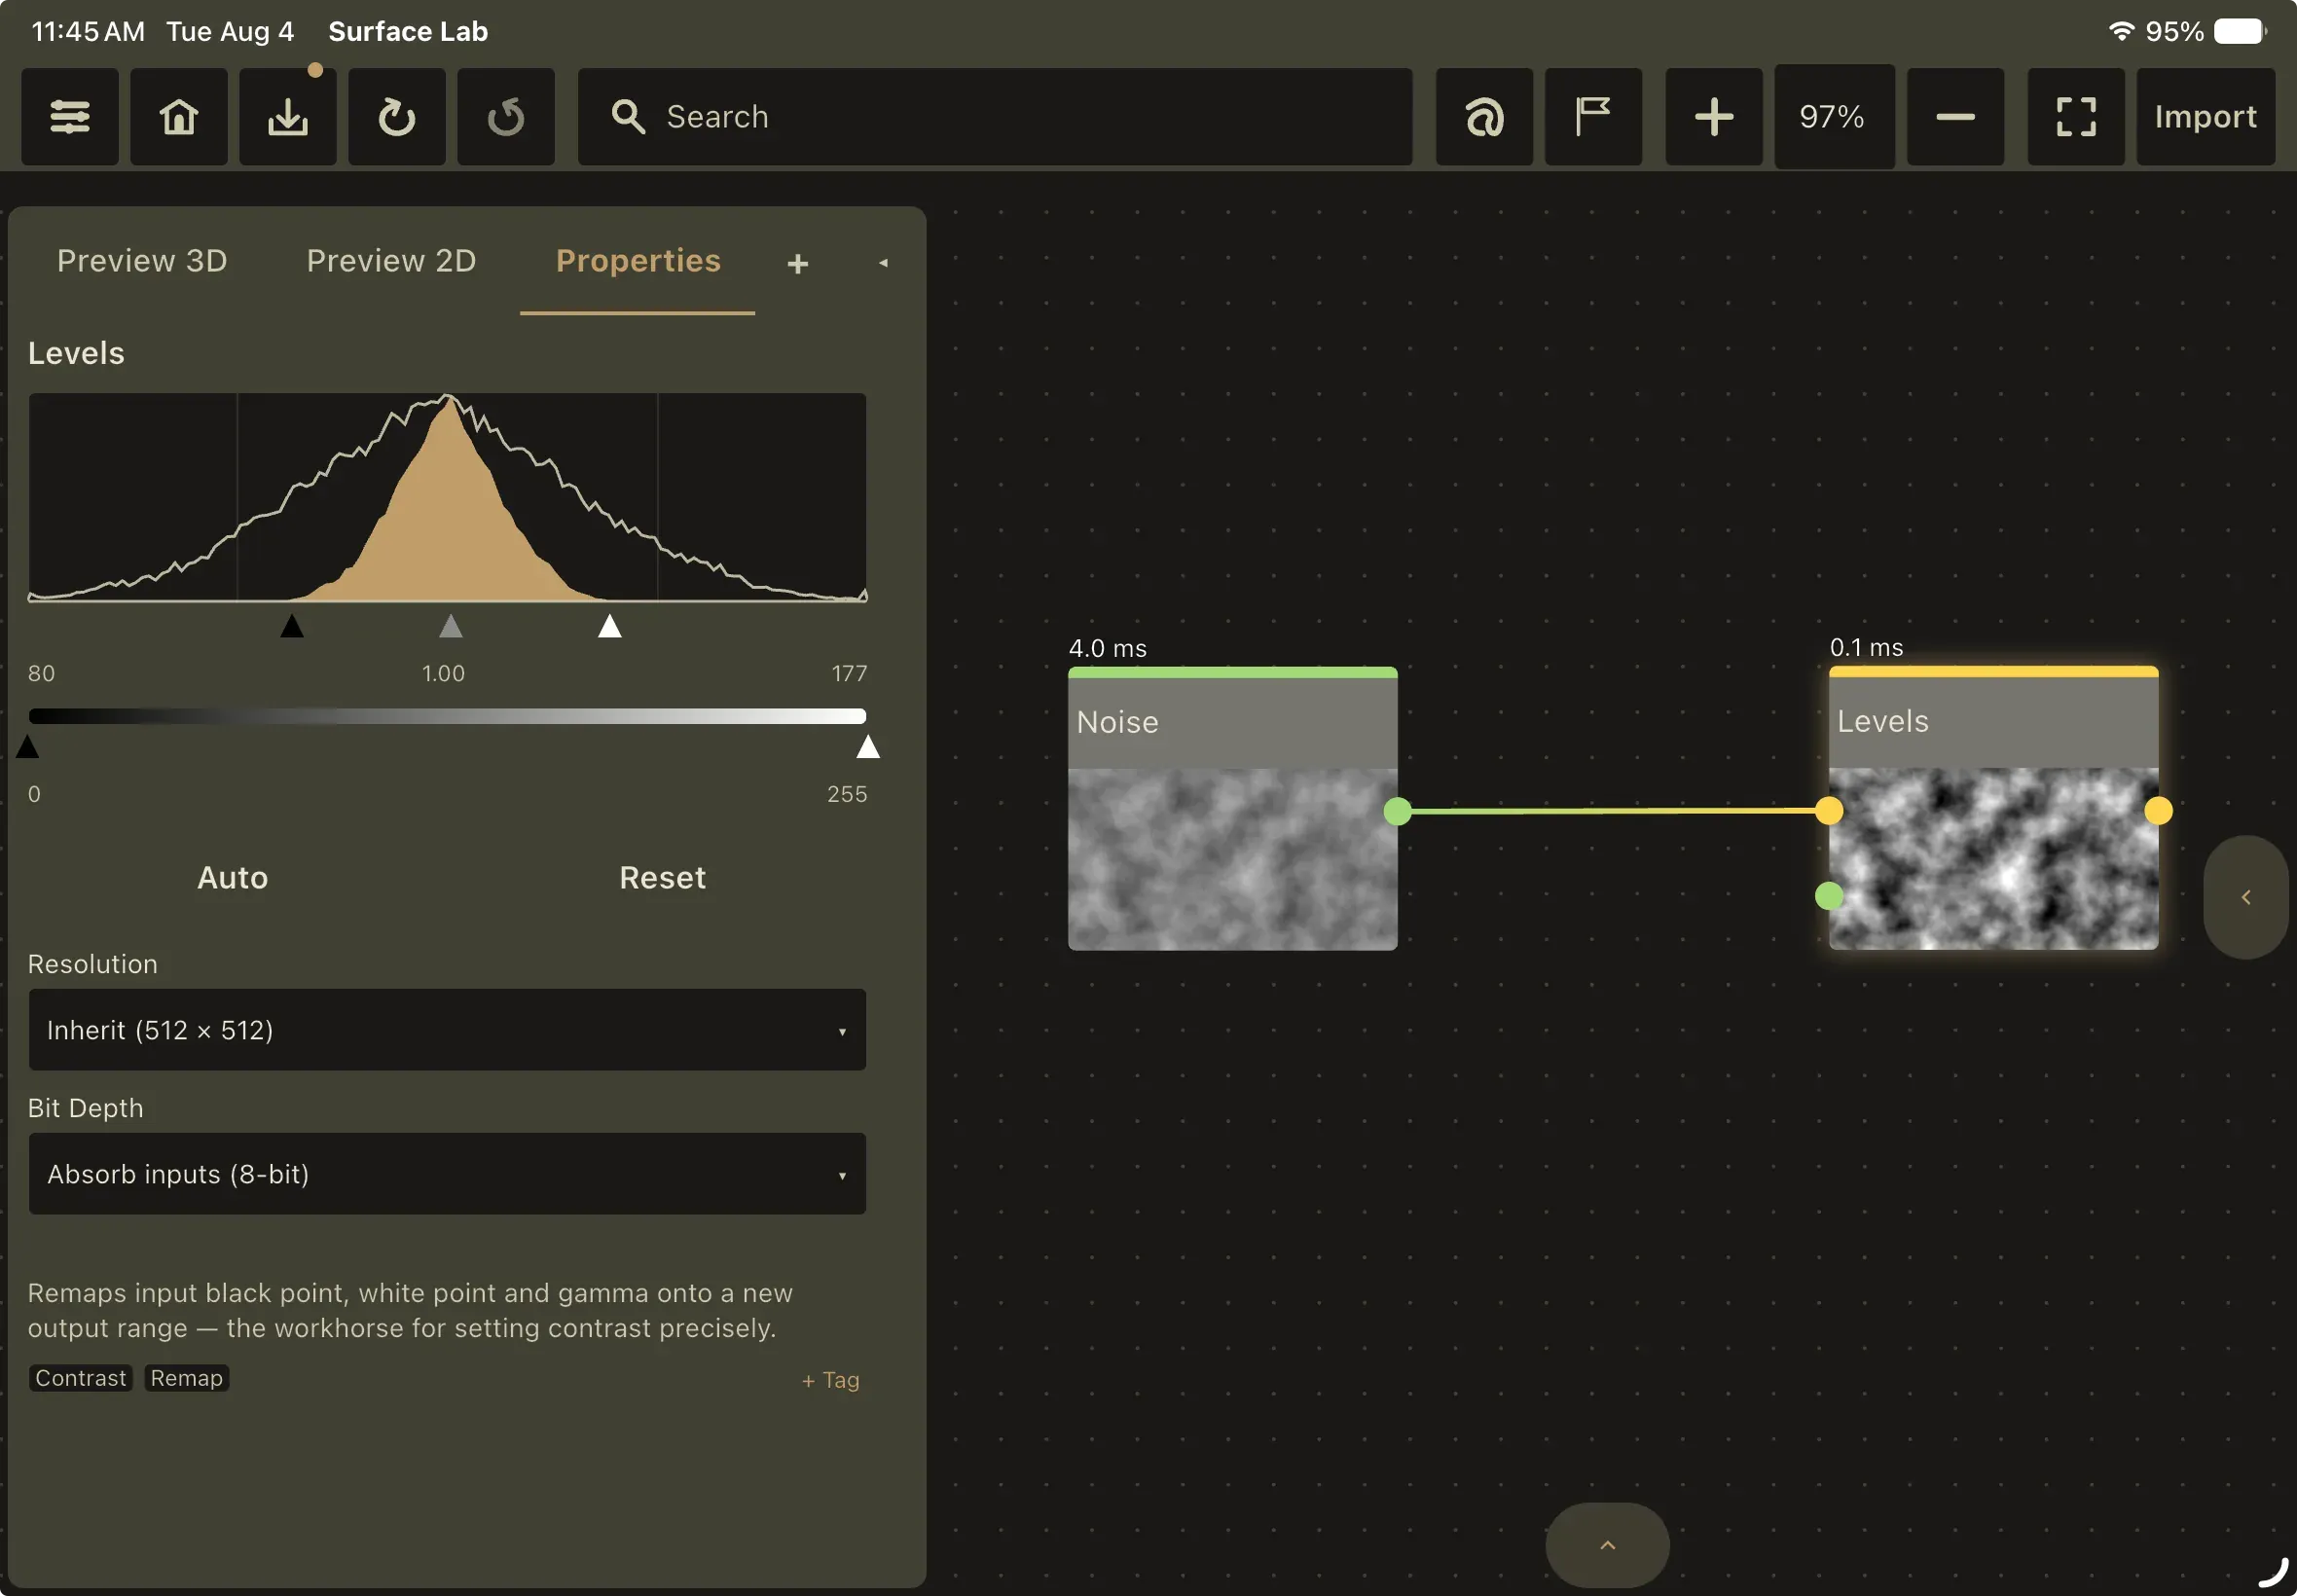
Section titled “3. Shape it with Levels”Add a Levels node (Filters) and connect the Noise Output to its Input (see Connections for wiring). Levels remaps the black point, white point and gamma onto a new output range:
- In Black and In White set which input values become fully black and fully white.
- Gamma biases the midtones between those two points.
- Out Black and Out White set the range the result is written into. Swapping them inverts the result.
- Channel picks which channel the five handles act on: Master grades every channel together, and Red, Green or Blue grades one and passes the rest through. Leave it on Master here.
Raise In Black slightly and lower Gamma until the pattern has clear peaks and valleys. This grayscale result will serve as the height map.
4. Convert height to a normal map
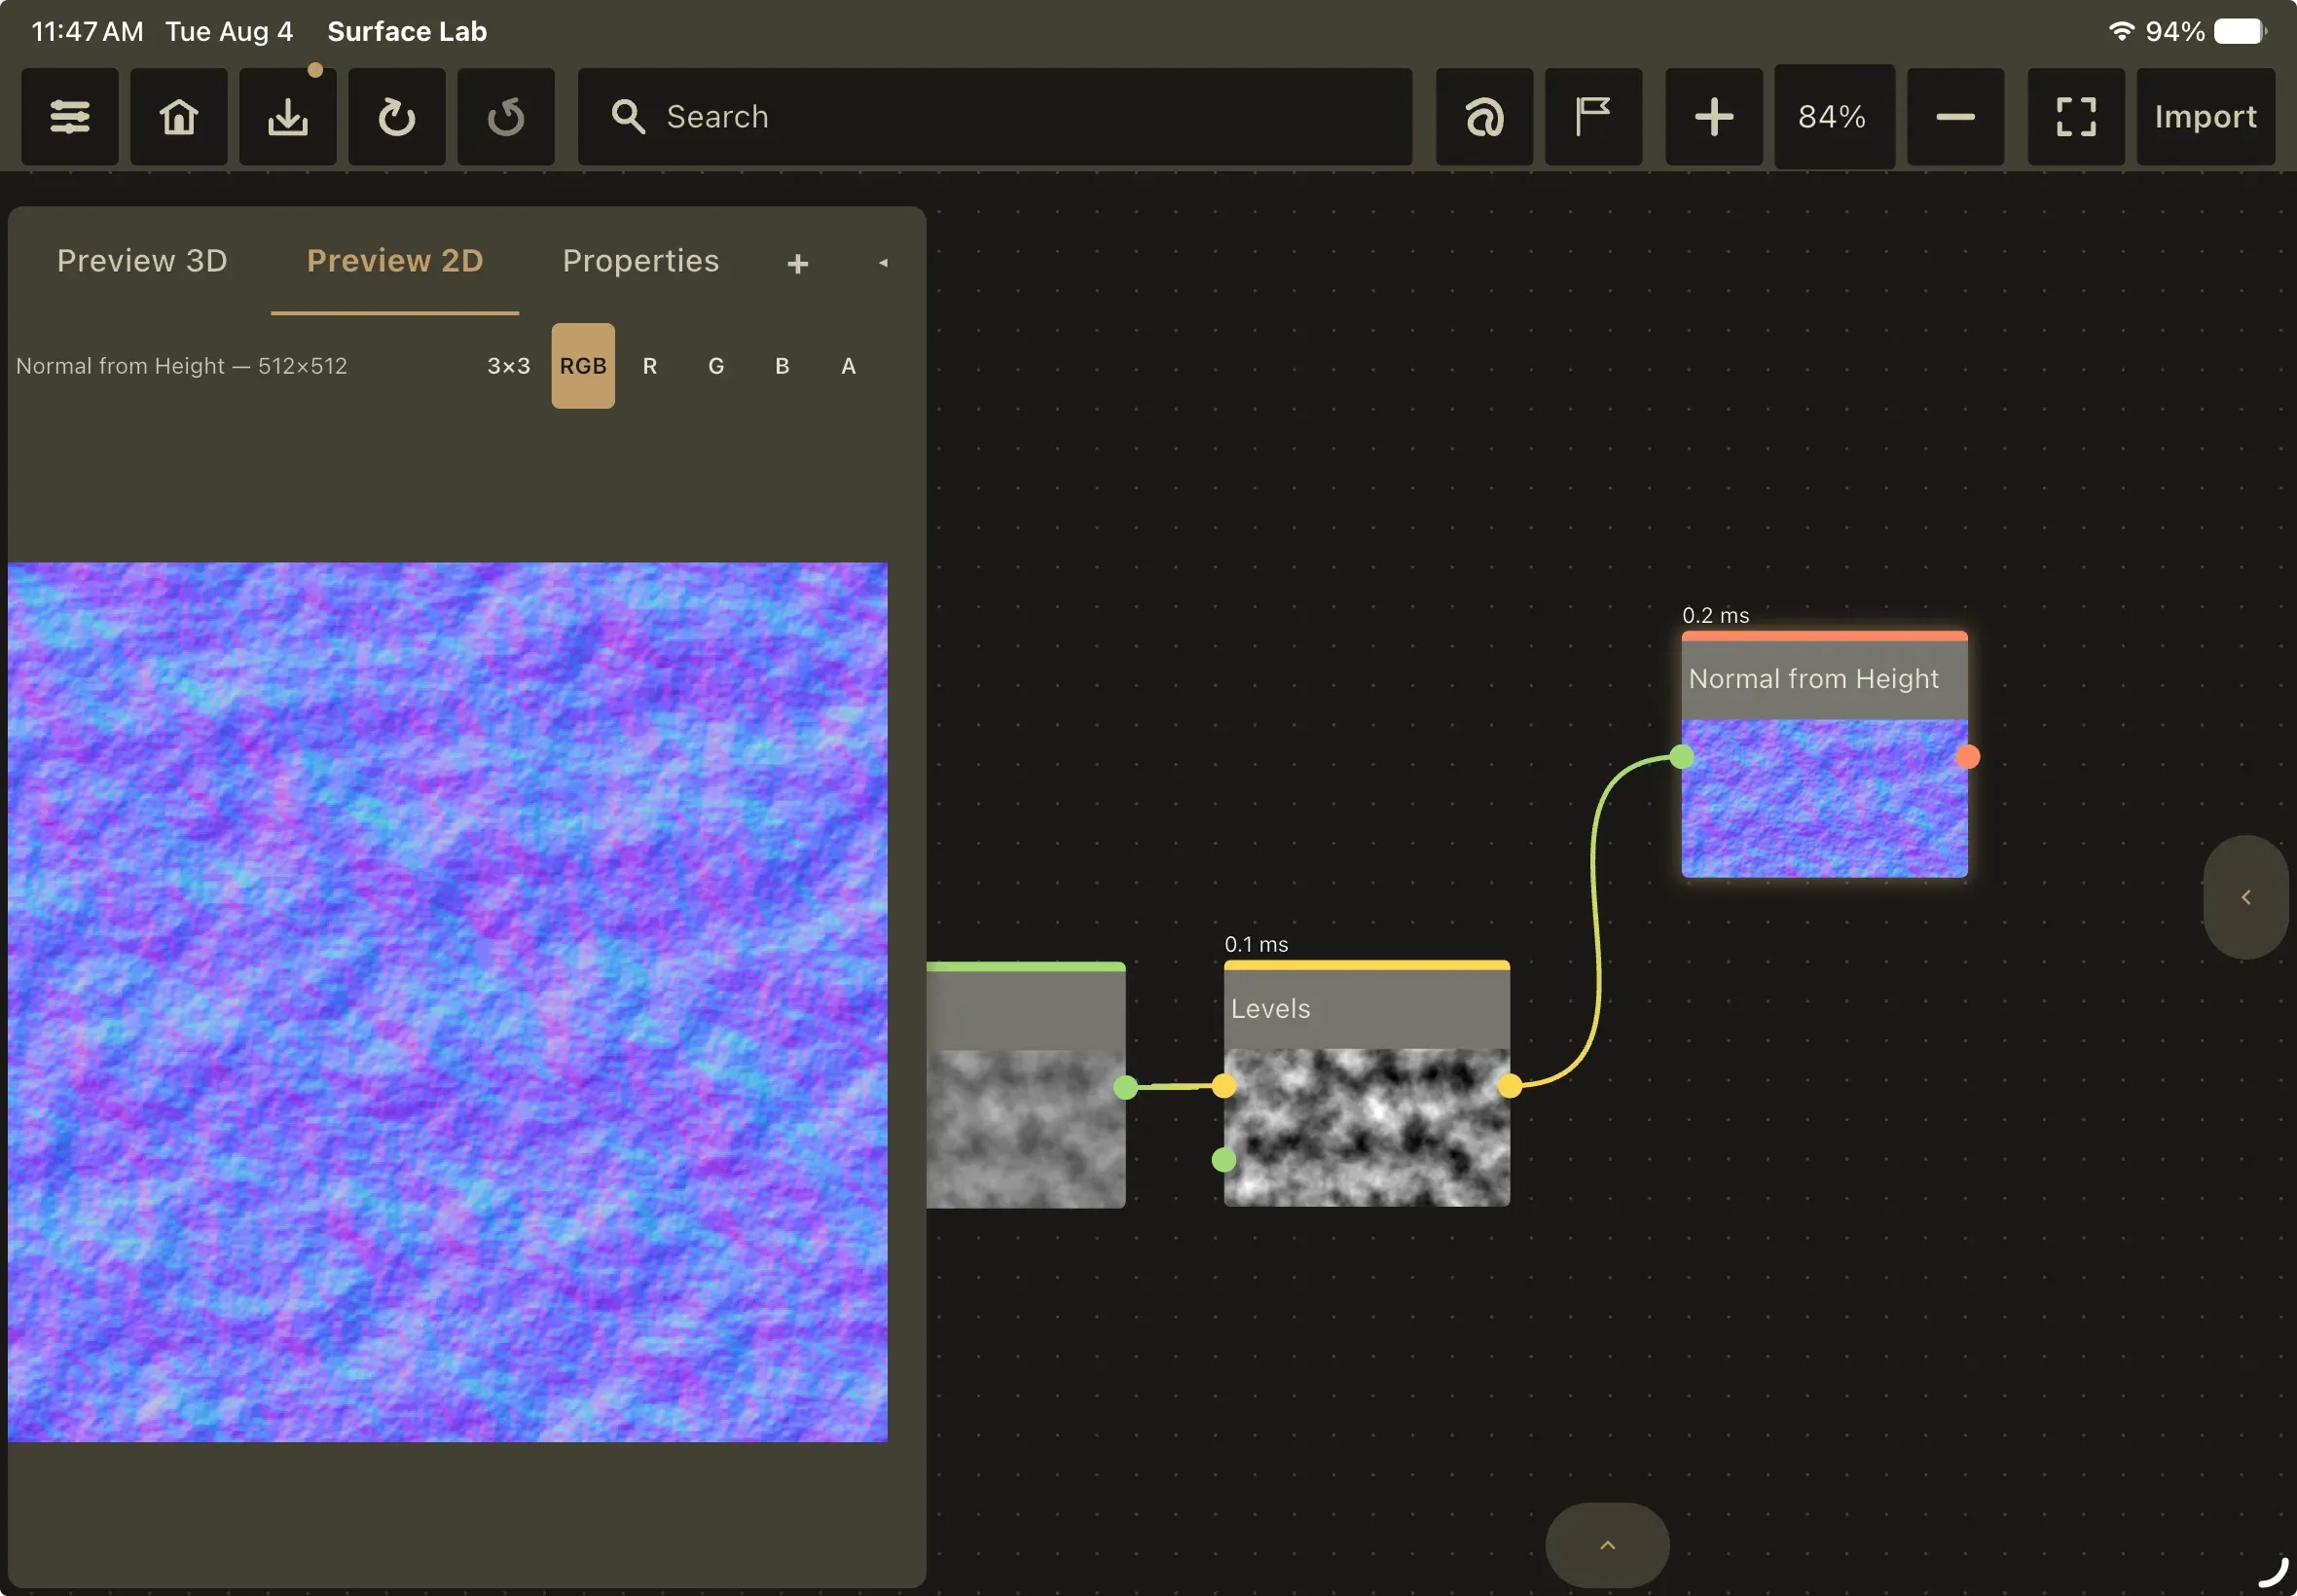
Section titled “4. Convert height to a normal map”Add a Normal from Height node (Normal category) and wire the Levels Output into its Height input. It converts the grayscale height map into a tangent-space normal map on its Output port. Its single parameter, Strength (0 to 32, default 4), multiplies the slopes: 0 is dead flat, higher values exaggerate relief.
5. Wire the PBR Output
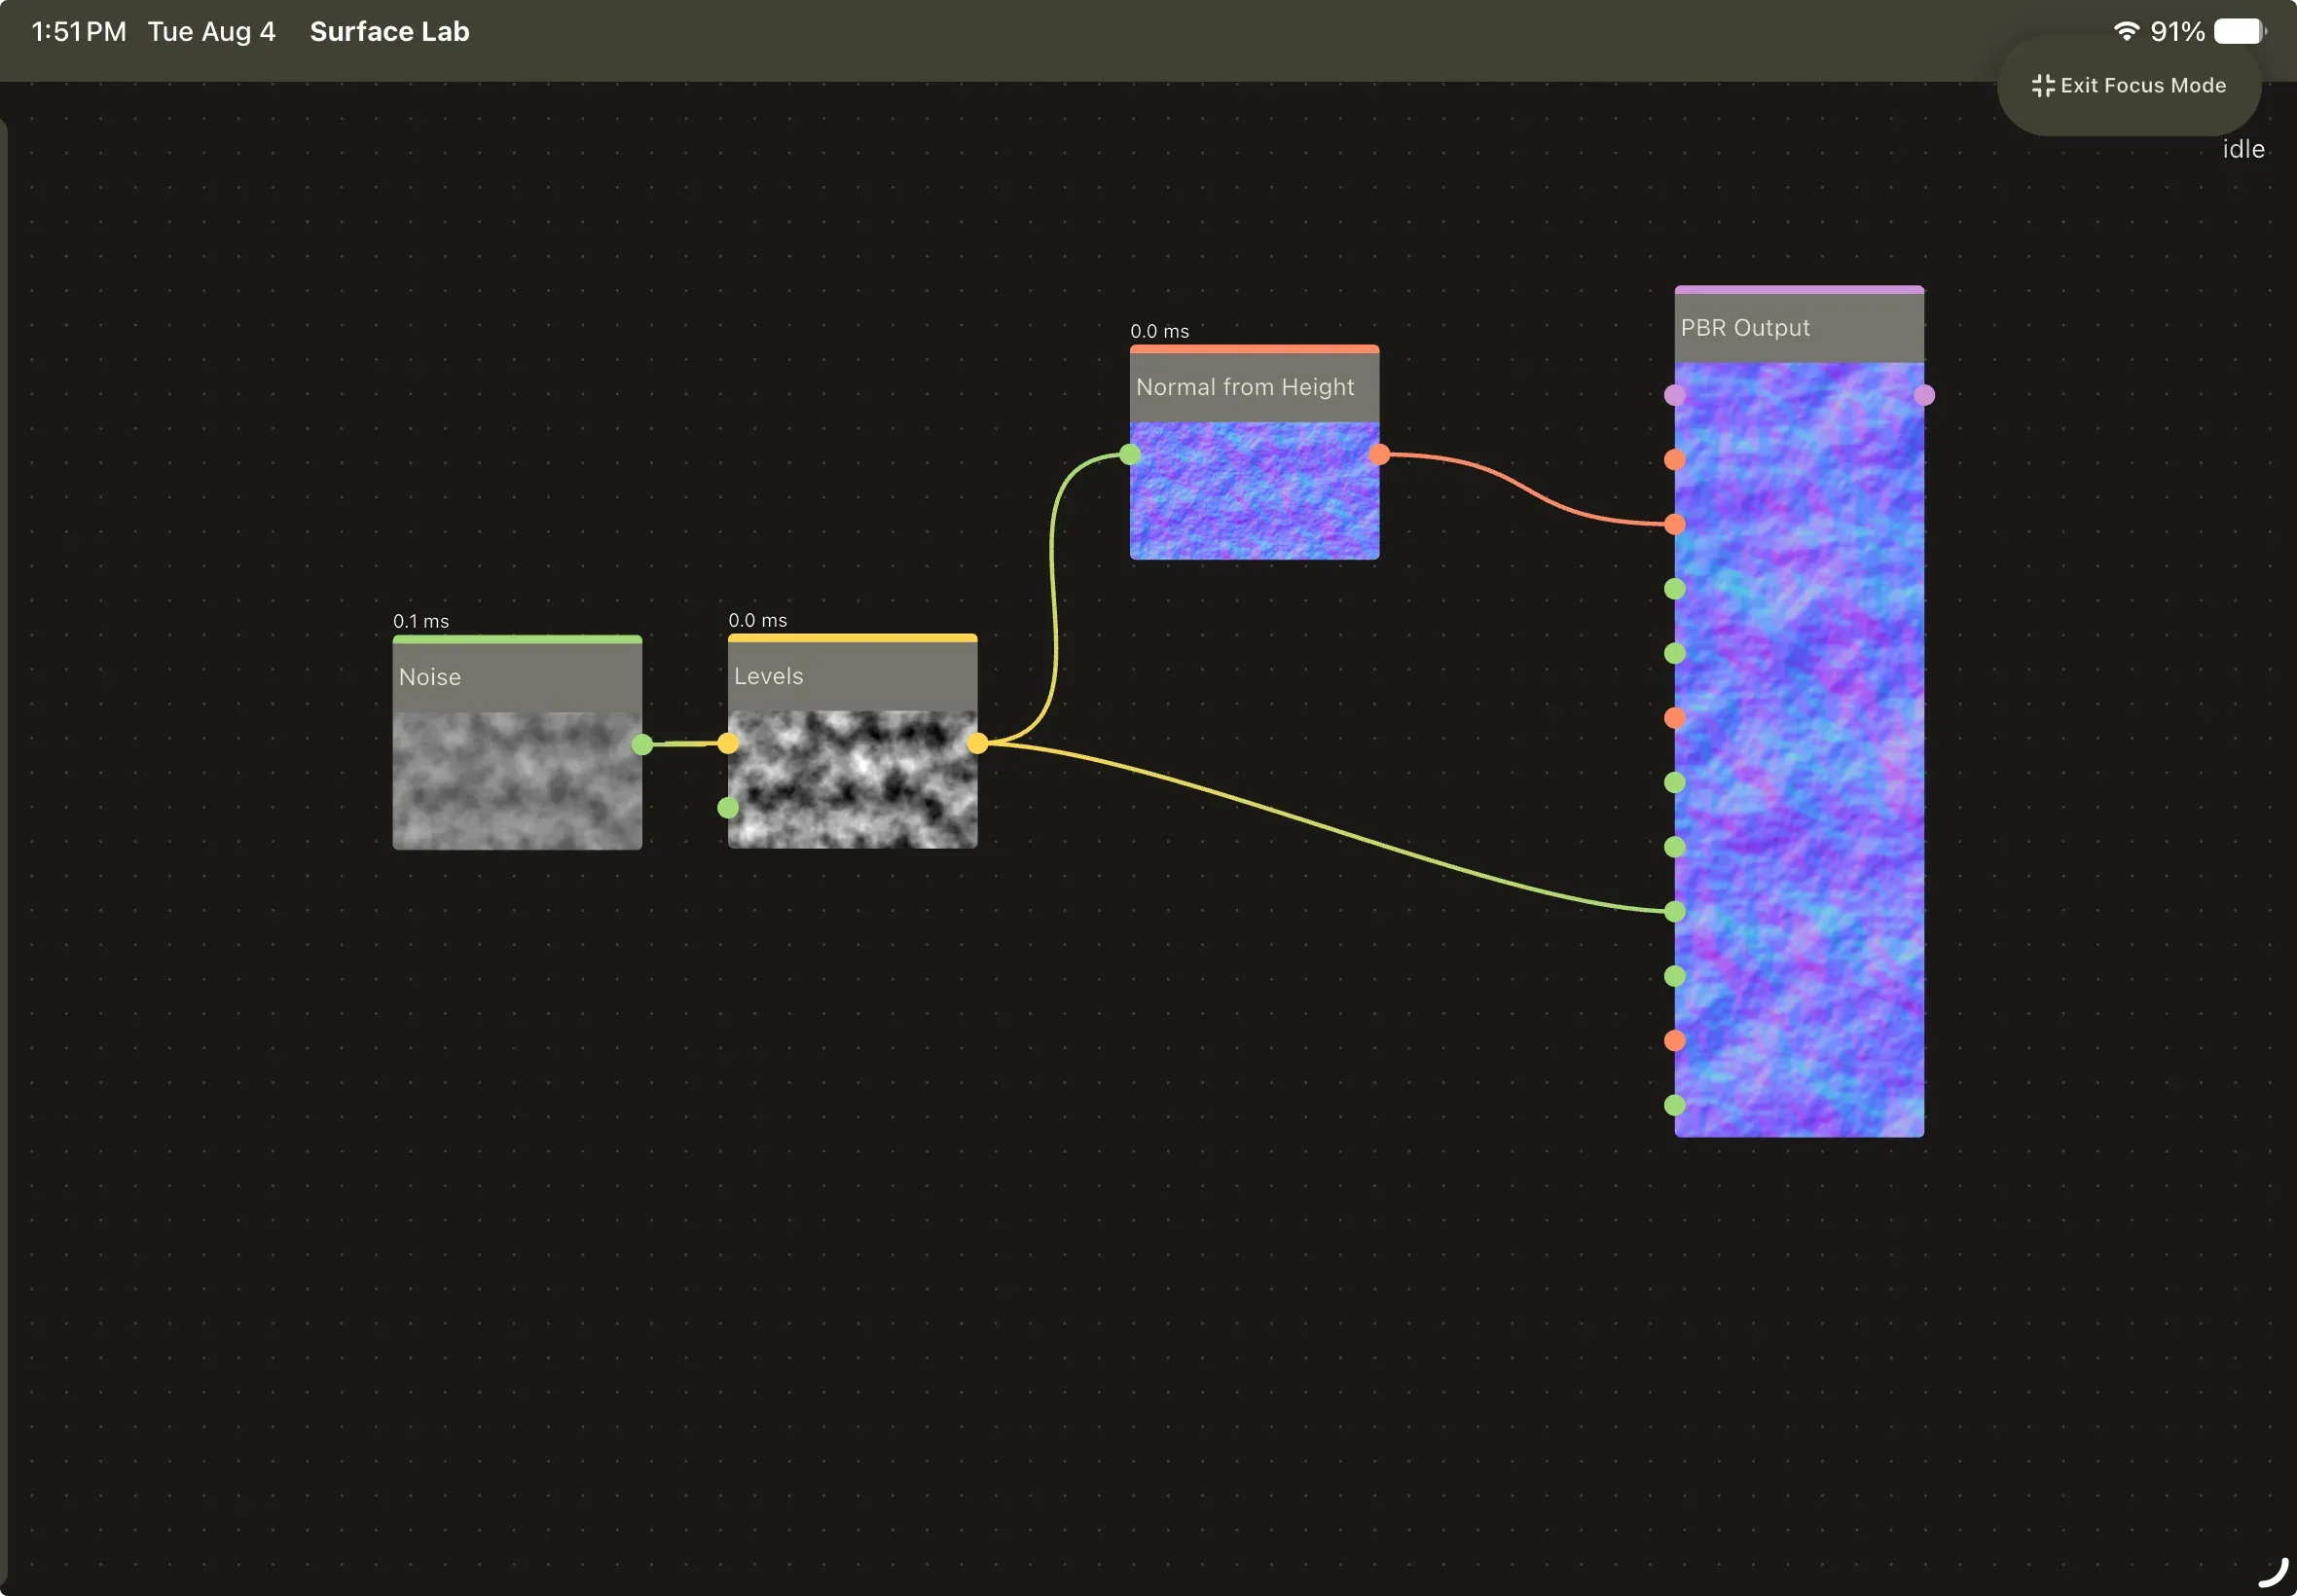
Section titled “5. Wire the PBR Output”Add a PBR Output node (Output category). It is the material endpoint: no input is required, and every channel has an on/off toggle with a constant fallback, so the material looks sensible with any subset connected. Wire:
- Levels Output into Base Color (grayscale and color textures are interchangeable; see Data Types & Ports).
- Levels Output into Roughness and into Height.
- Normal from Height Output into Normal.
Channels you leave unwired fall back to their constants, such as Roughness Value and Metallic Value, which export as real flat maps.
6. Preview in 3D
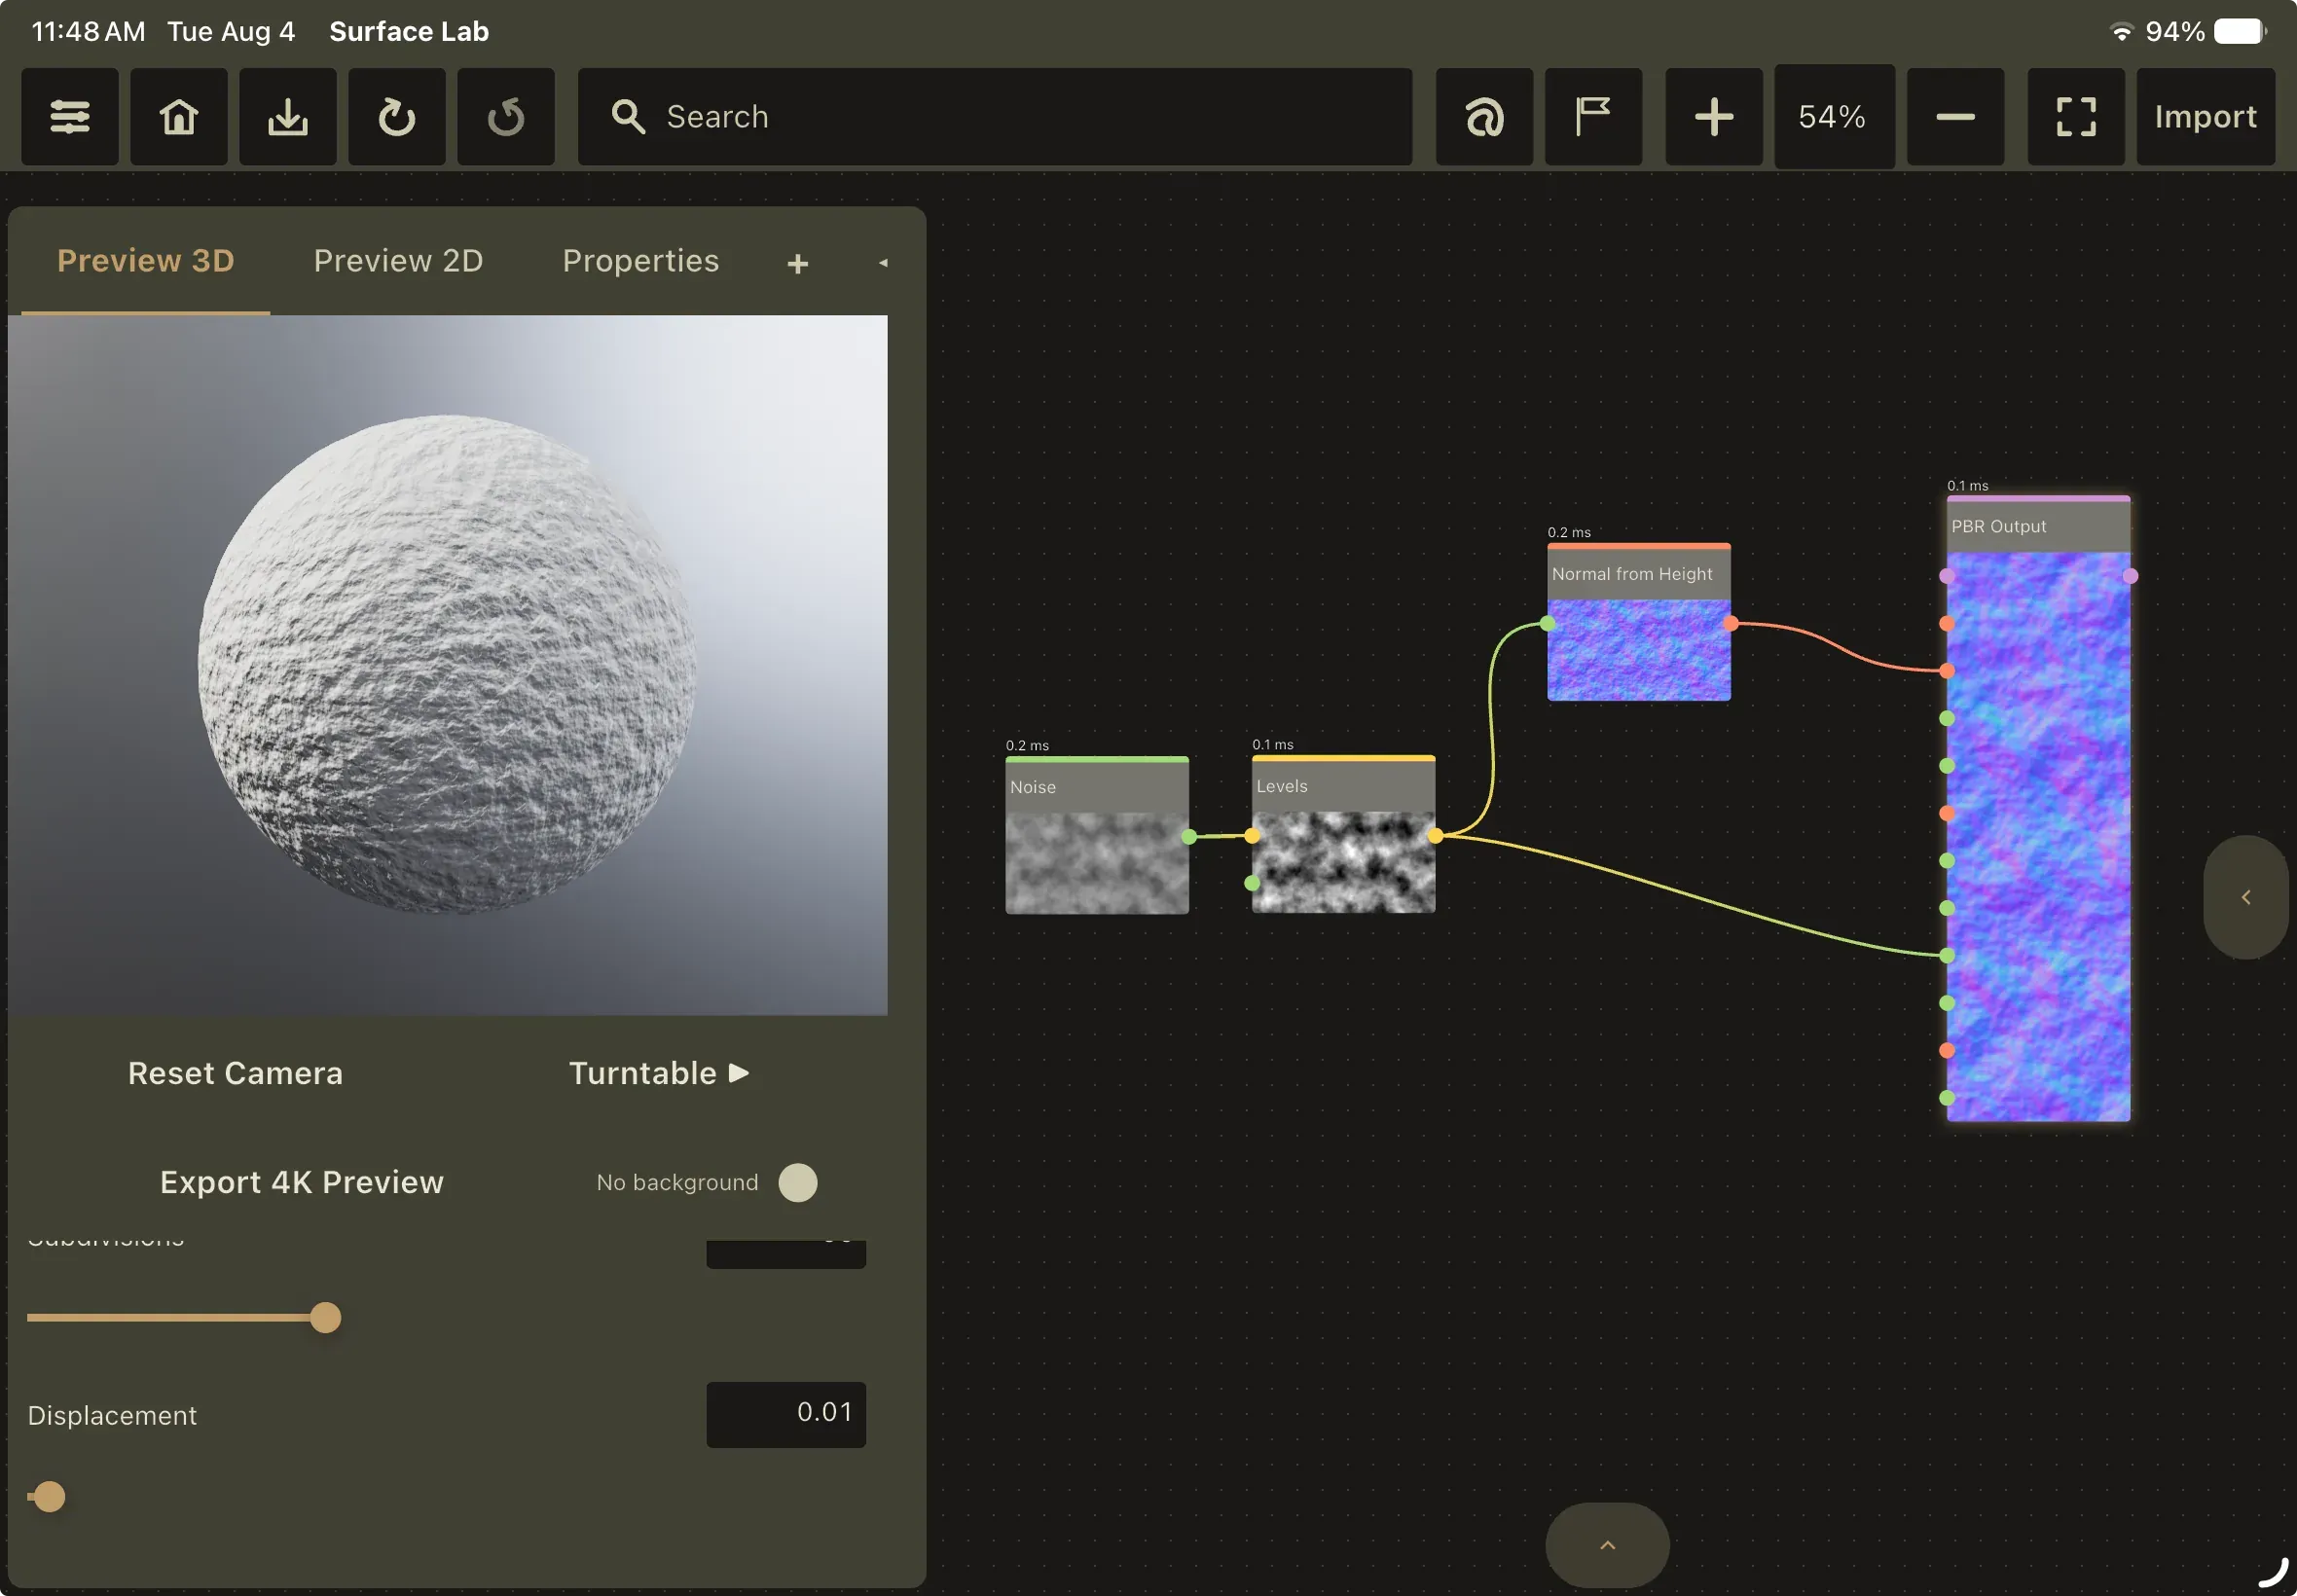
Section titled “6. Preview in 3D”Open the Preview 3D panel (pin it to any panel slot with a slot’s + button; see Interface Tour). It shows the material on a mesh in a real-time PBR-lit viewport, reading its channels from the PBR Output node. See Preview 3D.
7. Export
Section titled “7. Export”Select the PBR Output node and press Export Textures… at the top of the Properties panel, or press Ctrl+E / Cmd+E, which picks the first PBR Output in the graph. In the dialog, choose an Engine preset and a Format (PNG, TGA, TIFF, BMP, or EXR), and keep Individual maps (one file per channel) on. The planned-file preview under the prefix field lists the exact files the run will write.
Press Export, pick a destination folder, and a toast reports the result. The app waits for any still-rendering maps and promotes previews to full resolution first, so the export never captures a stale image. Files with the same name in the target folder are overwritten. See Exporting for every dialog option.